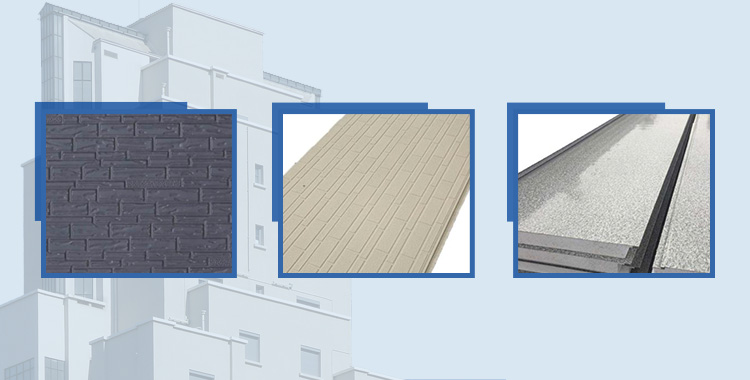
Application of External Wall Heat Preservation and Decoration Integrated
(1) Wall base solution: mold shell release agent, concrete sediment, lime soil and other isolation raw materials should be cleaned up on the subgrade to ensure that the plastering mortar and layer are soaked to improve the bonding compressive strength of cement mortar.
(2) Measurement specifications and capture lines: hanging bisectors on both sides of the building, or snapping an bisector out of the baseline in the midway of transportation, and taking it as both sides of the base control, vertical, and then snapping bisectors and horizontal planes from the bottom to step by step, so as to smooth the joints of the following panels, and pave integrated panels and vertical lines in the whole process.
(3) Mixing special adhesive: use portable electric mixer to mix mud for 5 minutes until compound is well mixed and uniform.
(4) Board layout: horizontal layout, straight left and right, square inside and outside corners.
(5) Sticking: when sticking, evenly integrate, so that the bonded cement mortar is in close contact with the wall, and is flush with the adjacent integration. After extruding and bonding cement mortar, scrape it with scraper to ensure the compactness of bonding. The flatness and straightness shall be inspected at any time by 2m guiding ruler and support plate. When sticking the board, please pay attention to remove the cement mortar overflowing from the edge of the board, so that there is no "head ash" in the middle of the board, and the connector in the middle of the board is effective.
(6) Guide: select Z-type embedded guide and punch holes in the middle of the two rubber connectors with striking force. The hole diameter shall be determined according to the diameter of expansion screw of insulating layer, and the depth shall not be less than 10cm.
(7) Plate connection solution: after cleaning the outer surface with detergent, immediately introduce the raw materials such as connector into the gap in the middle of the integration. The dark gray knife should move evenly along the connector, and the kneading force should be symmetrical.
(8) Surface solution: three days after the plate joint is solved, remove the coating paper and other residues on the surface, and immediately clean the surface of the plate.
(9)Self correction and self inspection, acceptance of finished product maintenance project.


